Edible wild greens are often more nutrient-dense than supermarket lettuce, and they connect you directly to your local landscape. They’re also where new foragers make the most mistakes: misidentified leaves, contaminated harvest areas, or hasty preparation.
Why Wild Greens Deserve Careful Handling
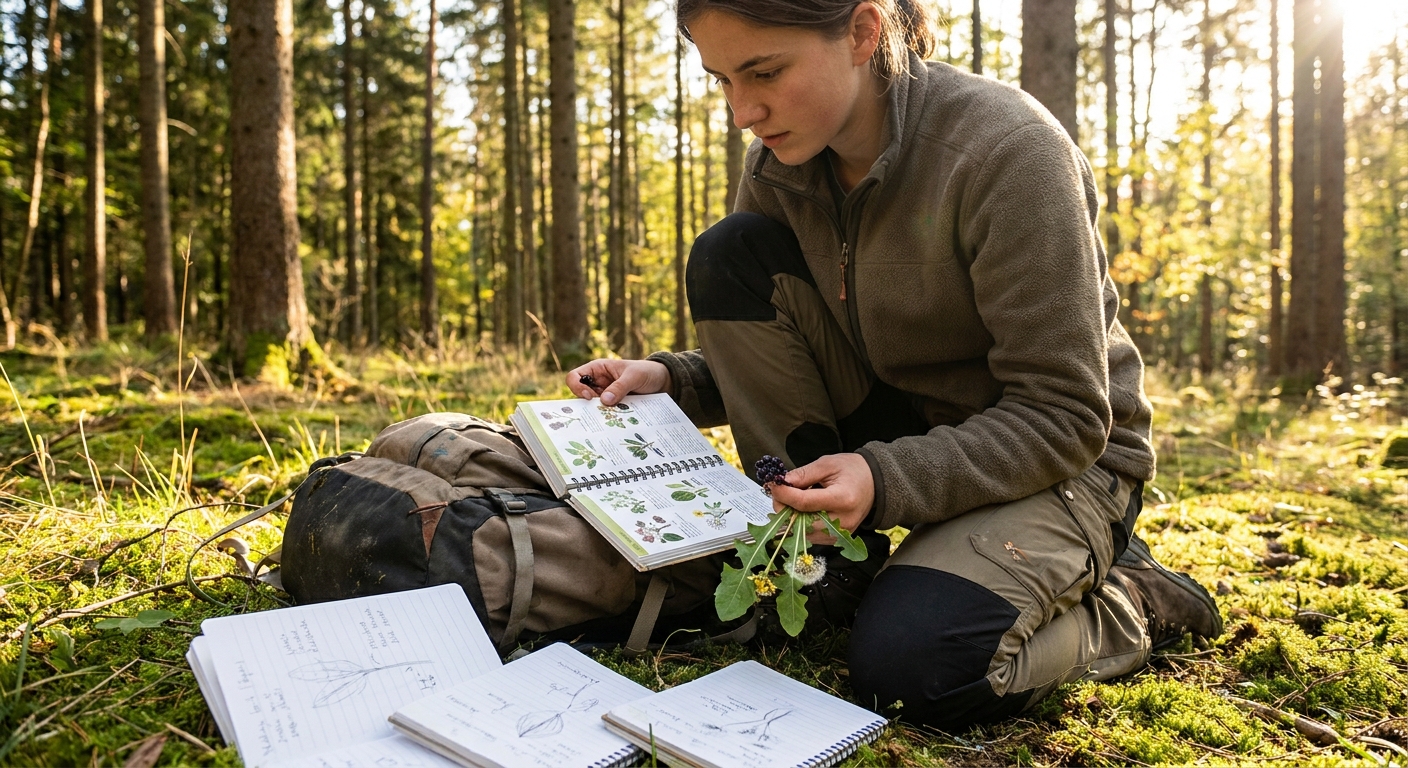
This step-by-step guide walks you from planning a foraging trip, through identification and harvesting, to cleaning and cooking a few reliable wild greens. The goal is not just a good meal—it’s a repeatable, safety-first process you can apply to many edible plants.
Step 1: Choose Beginner-Friendly Greens
Start with plants that are:
- Widespread and common.
- Easy to distinguish from dangerous species.
- Useful both raw and cooked.
Three excellent candidates:
- *Dandelion (Taraxacum officinale) – Bitter but distinctive; entire plant is edible.
- Plantain (Plantago major / P. lanceolata) – Tougher texture, but unmistakable rosette and veins.
- Lamb’s Quarters (Chenopodium album) – Mild and nutritious, like a wild spinach.
Avoid at first:
- Any carrot-family greens (due to poison hemlock confusion).
- Any bulb or root plants with potentially deadly look-alikes.
Step 2: Plan a Clean, Legal Harvest Location
2.1. Avoid Contaminated Areas
Skip locations that are likely to harbor pollutants:
- Road shoulders and highway edges.
- Lawns or fields that may be sprayed.
- Industrial zones, old dumps, or mysterious bare patches.
Think about what runs off into the soil—heavy metals and chemicals are invisible but persistent.
2.2. Confirm Access and Regulations
- Check if foraging is allowed on the land (parks, reserves, and private property may have restrictions).
- Respect Indigenous lands and culturally significant sites.
A safe meal also has to be an ethical meal.
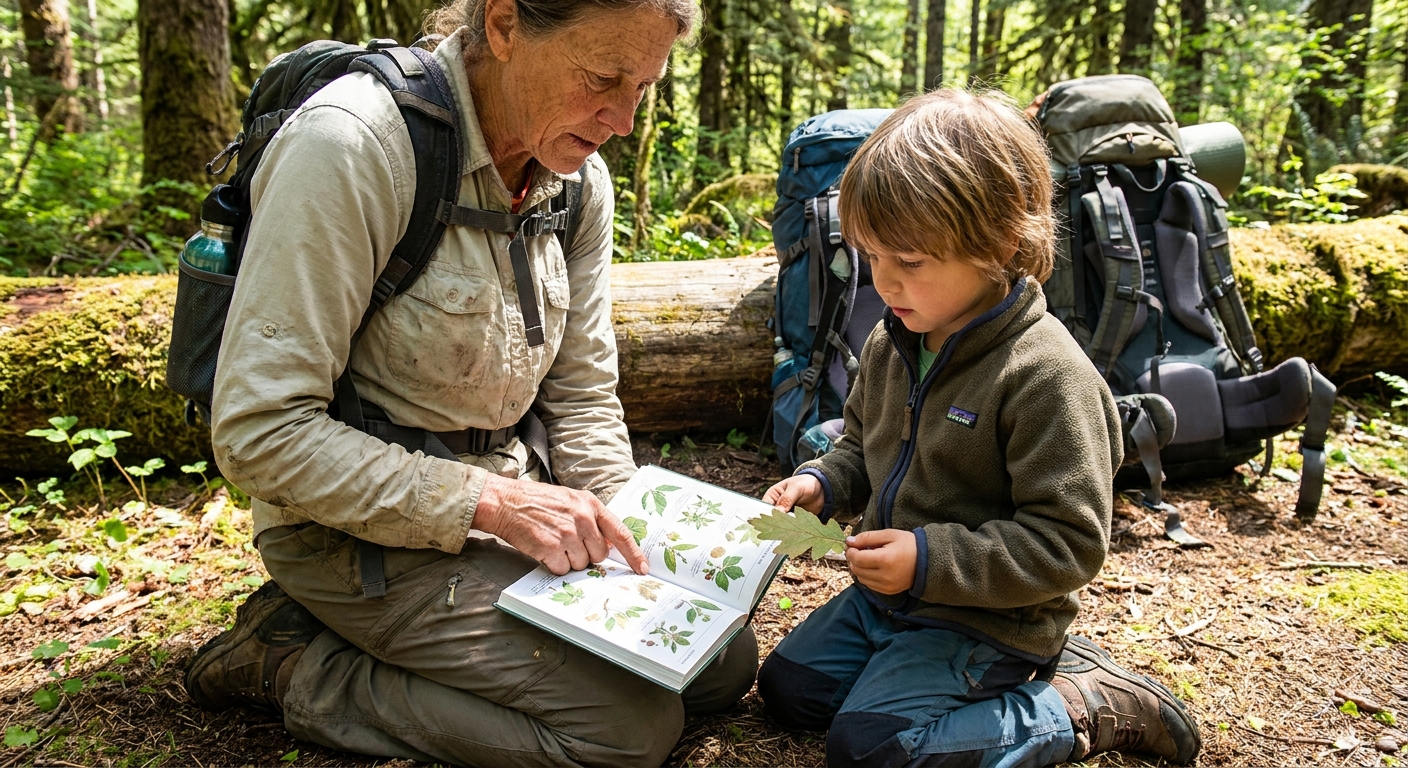
Step 3: Learn to Identify Your Target Greens in Detail
3.1. Dandelion Identification
- Leaves:
- Basal rosette only (leaves all from ground level).
- Deeply toothed edges, pointing back toward the base.
- Generally hairless or sparsely hairy.
- Flower stalks:
- Hollow, unbranched, leafless.
- One yellow flower head per stalk.
- Oozes white latex when broken.
- Seeds: White puffball.
- Cat’s ear and hawkweeds (often edible but different structure); some composites may cause allergies.
Look-alikes:
3.2. Plantain Identification
- Leaves:
- Broad (common plantain) or narrow (ribwort plantain).
- Prominent parallel veins from base to tip.
- Basal rosette arrangement.
- Stems:
- Leafless flower stalks rising from rosette.
- Spikes of tiny flowers/seeds.
Look-alikes: Few dangerous ones at rosette stage when veins and growth habit are observed.
3.3. Lamb’s Quarters Identification
- Leaves:
- Often diamond or goosefoot-shaped.
- Margins slightly toothed or irregular.
- Young leaves often have a mealy, powdery coating, especially on the underside.
- Stems:
- Erect, may have reddish streaks.
- Can grow tall in fertile soil.
- Flowers:
- Small, green, in dense clusters at stem tips and leaf axils.
- Amaranths (pigweeds) – also edible but different flower structures.
- Be absolutely sure you’re not mistaking it for anything in the Solanum* (nightshade) family—compare leaves, flowers, and growth habit carefully.
Look-alikes:
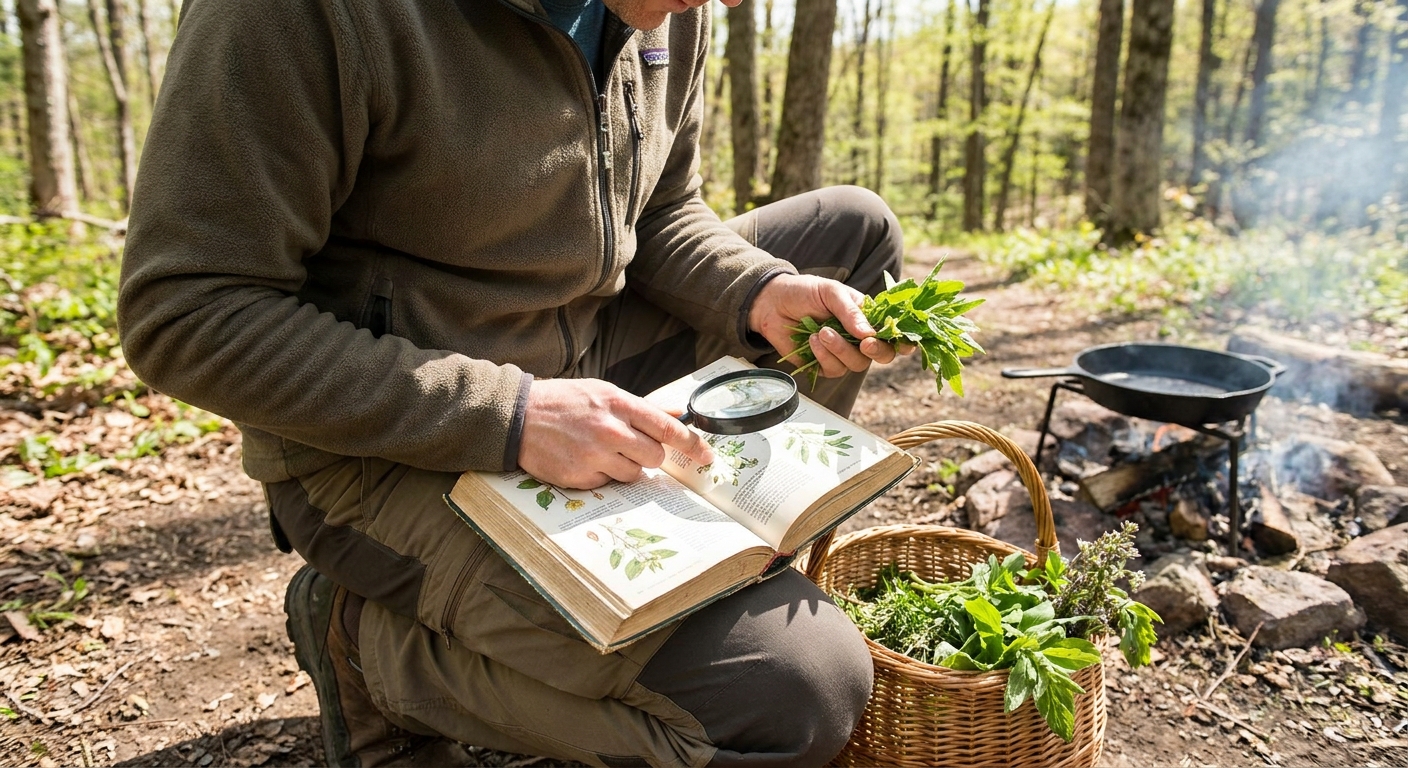
Always cross-check: Use at least two field guides or a field guide plus a trusted local resource when you’re learning a plant.
Step 4: Test Your Identification in the Field
Before you even consider harvesting:
4.1. Observe Multiple Specimens
- Look at several plants in the patch.
- Do they all share the major ID features?
- Are any in flower or seed to help confirm?
- Sight: Check leaf arrangement, stem type, and habitat.
- Touch: Feel leaf texture. Dandelion is tender; plantain is more fibrous; lamb’s quarters feel softer, sometimes dusty.
- Smell: While these greens aren’t strongly aromatic like mints, they shouldn’t smell off or chemical-like.
4.2. Use Your Senses (Except Taste, For Now)
Only when the plant matches your references and checks out across multiple individuals should you proceed to harvest.
Step 5: Harvesting Technique and Ethics
5.1. Tools and Hygiene
- Use clean scissors or a knife for precise cuts.
- Bring a breathable bag or basket (not plastic, which sweats and accelerates spoilage).
- Keep edible plants separate from any experimental specimens you’re collecting just to study.
- Dandelion: Harvest leaves from multiple plants rather than stripping one. Leave enough for the plant to continue growing.
- Plantain: Clip outer leaves, leaving the inner rosette intact.
- Lamb’s Quarters: Pinch off tender tops and young leaves; leave main stems rooted so they can regrow.
5.2. How Much to Take
General guideline: Take no more than 10–20% of a healthy patch, especially in wild or less disturbed habitats.
5.3. Avoid Damaged or Dirty Leaves
- Skip leaves heavily chewed by insects, covered in mildew, or speckled with unknown spots.
- Avoid plants heavily splashed by road dust or animal droppings.
Step 6: Safe Transport and Storage
- Keep greens cool and shaded; a hot car will wilt them quickly.
- At home, transfer to the fridge soon, loosely wrapped in a damp cloth or breathable container.
- Use within a day or two for best quality.
Step 7: Cleaning Wild Greens Thoroughly
7.1. First Rinse
- Fill a large bowl or sink with cool water.
- Submerge the greens and gently swish to loosen soil, insects, and debris.
- Lift greens out of the water (don’t pour water and greens through a colander—that just redistributes dirt onto them).
- For especially sandy soil, change the water and repeat until no grit settles at the bottom.
- Inspect for small insects hiding in leaf folds.
- A brief soak in lightly salted or slightly vinegared water can help dislodge tiny critters.
- Rinse again with fresh water afterward—this is a cleaning step, not a pickling step.
7.2. Repeat as Needed
7.3. Optional: Quick Saltwater or Vinegar Soak
Step 8: Trying a New Wild Green for the First Time
Even safely edible plants can cause reactions in some individuals.
- Cook a small amount plainly (light steam or sauté), without heavy seasoning.
- Eat a small portion only—a tablespoon or two.
- Wait several hours and note any reactions (itching, swelling, digestive upset).
If all is well, you can gradually increase portions next time.
Step 9: Simple, Reliable Ways to Prepare Edible Greens
9.1. Blanched and Sautéed Wild Greens
Good for: Dandelion, lamb’s quarters, young plantain leaves.
- Bring a pot of lightly salted water to a boil.
- Add washed greens and boil 1–3 minutes.
- Drain and immediately rinse with cool water (especially helpful for bitter greens like dandelion).
- Sauté in a pan with a bit of fat (oil, butter), garlic or onion, and salt.
Blanching helps reduce bitterness and some anti-nutritional compounds like oxalates.
9.2. Mixed Wild Green Frittata
Use small amounts of wild greens mixed with familiar eggs and cheese.
- Lightly sauté chopped greens until tender.
- Beat eggs, add salt, pepper, herbs, and greens.
- Cook slowly over low heat, finishing under a broiler if needed.
This method lets you taste the green’s character without relying on it as the main element.
9.3. Raw Use (Advanced Step)
Some wild greens can be eaten raw (e.g., very young dandelion leaves, lamb’s quarters in small amounts), but raw wild foods require extra confidence in your ID and your body’s tolerance.
- Start by mixing a small handful into a salad of known cultivated greens.
- Notice how your body responds.
When in doubt, cook first—heat often makes foods easier to digest and safer.
Step 10: Reflect and Record
After each foraging and cooking session:
- Note where and when you found each plant.
- Record appearance, taste, and preparation method.
- Add photos with labels to a digital or physical notebook.
Over time, this becomes your personalized Forage Trail Kit—a reference built from your own landscape.
Building Skill Through Repetition, Not Risk
You don’t become a skilled wild foods forager by eating the rarest plants; you get there by safely repeating well-understood harvests:
- Visit the same patches across seasons.
- Watch dandelion, plantain, and lamb’s quarters through their full life cycles.
- Share meals only from plants you can explain in detail, from root to seed.
With this careful approach, wild greens move from curiosity to dependable, welcome guests at your table—without compromising safety or the health of the ecosystems you forage in.