Many beginners wander the woods snapping photos and hoping an app will tell them what’s edible. That’s backwards. Safe foraging starts with a consistent workflow—a step-by-step process you repeat every time you meet a new mushroom.
Introduction: Turn Random Finds into Reliable IDs
This guide lays out a practical, field-tested workflow you can follow from first sight to final decision: eat, study, or leave.
Step 1: Pause and Survey the Scene
Before you touch anything, step back and look at context.
Ask:
- Where am I? (forest type, meadow, yard, wetland, urban park)
- What trees are nearby? Learn to recognize at least common genera: oak, maple, beech, pine, spruce, fir, birch.
- What’s the substrate? Soil, moss, dead log, stump, living tree, wood chips?
This quick scan already filters the possibilities. For example, chanterelles won’t be growing from the side of a dead log, and many polypores will never appear from soil.
Record this in your notebook or app immediately—it’s easy to forget later.
Step 2: Document Before You Disturb
You only get one chance to photograph a mushroom exactly as it grew.
Take clear photos:
- Habitat shot: Mushroom in context with surrounding trees and ground.
- Side view: Shows cap shape and stem.
- Underside: Gills, pores, or teeth.
- Top view: Cap color and pattern.
These photos make identification and later verification much easier—especially if you seek confirmation from experts.
Step 3: Collect a Complete Specimen (or Several)
Gently dig up at least one whole specimen, including the base of the stem.
- Use a knife or small trowel.
- Avoid snapping it off at soil level—you may lose critical ID features like a volva (cup at the base) in Amanitas.
- If possible, collect a range of ages: button, mature, aging.
Place specimens in a basket or breathable bag. Avoid plastic bags that cause fast decay.
Step 4: Perform a Structured Field Exam
Now that you have the mushroom in hand, systematically examine it.
A. Cap
- Shape: bell, convex, flat, funnel, depressed center?
- Surface: slimy, sticky, dry, velvety, scaly, cracked?
- Color: uniform or zoned? Fading at edges? Darker center?
- Type: gills, pores, teeth, smooth?
- Gill details (if present):
- Attachment: free, attached, decurrent (running down stem), notched?
- Spacing: crowded or distant?
- Color: and any color change with age or bruising.
- Position: central, off-center, or nearly absent?
- Surface: smooth, fibrous, scaly, powdered?
- Features: ring/skirt, sheath, or volva at base?
- Color and any bruising when handled.
- Slice the mushroom lengthwise:
- Note flesh thickness and texture.
- Watch for color changes over a few minutes: blue, red, yellow, pink?
B. Underside
C. Stem
D. Flesh & Bruising
Record everything. Seemingly small details often decide between edible and toxic.
Step 5: Make a Spore Print
Especially for gilled mushrooms, a spore print is a standard part of the ID workflow.
How-to:
- Remove the stem and place the cap gill-side down on a surface split between white and black paper.
- Cover with a bowl or container to maintain humidity.
- Wait 4–12 hours.
- Check spore color: white, cream, pink, salmon, brown, chocolate, rusty, purple-brown, or black.
Document the color under daylight. This can immediately rule out whole genera.
Step 6: Narrow by Habitat, Season, and Region
Now combine what you’ve gathered with ecological logic.
Questions to match against references:
- Habitat: woodland, meadow, urban, coastal?
- Substrate:
- On hardwood vs. conifer wood
- In grass vs. leaf litter
- On burned ground
- Season: early spring, mid-summer, fall flush?
- Your region: species lists differ between, say, the Pacific Northwest and the Northeast.
If a candidate species doesn’t line up on habitat or timing, it’s probably wrong.
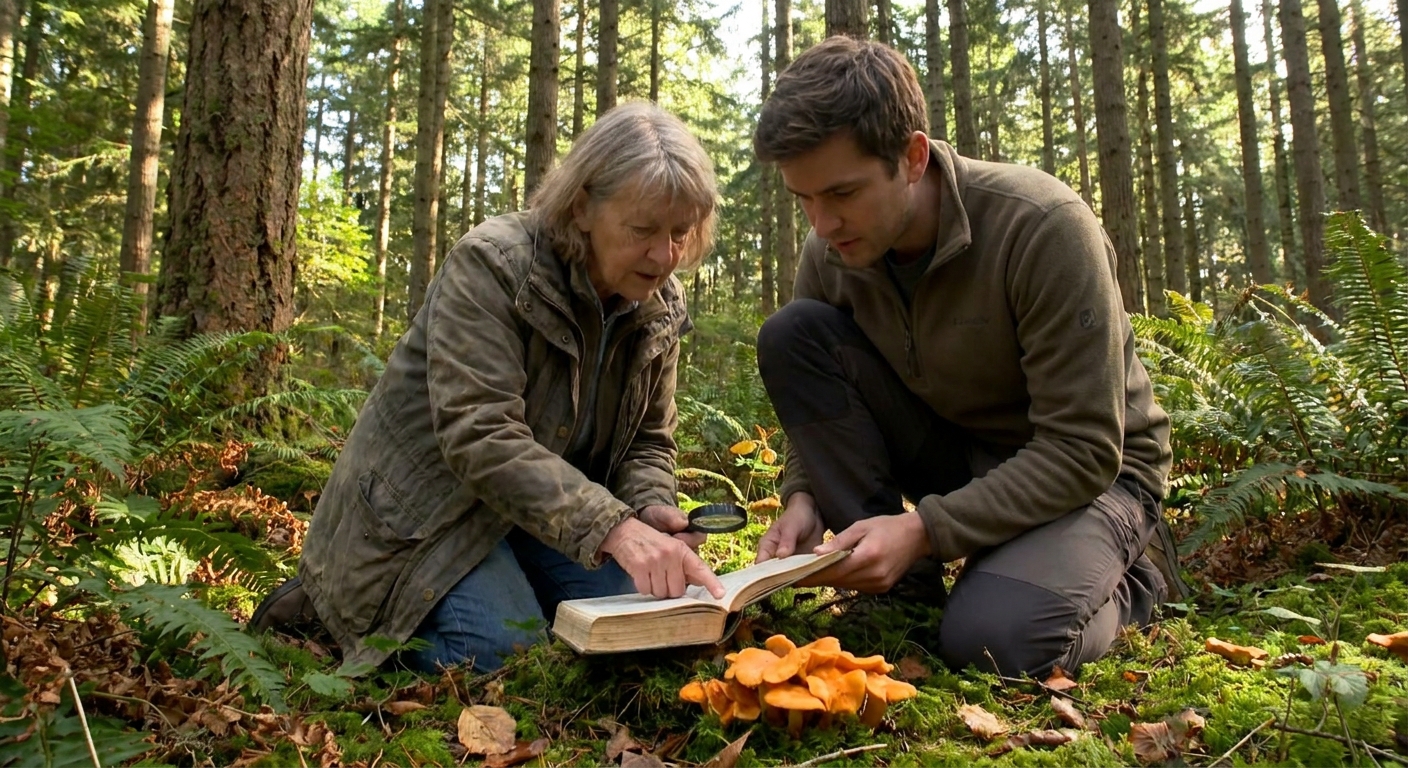
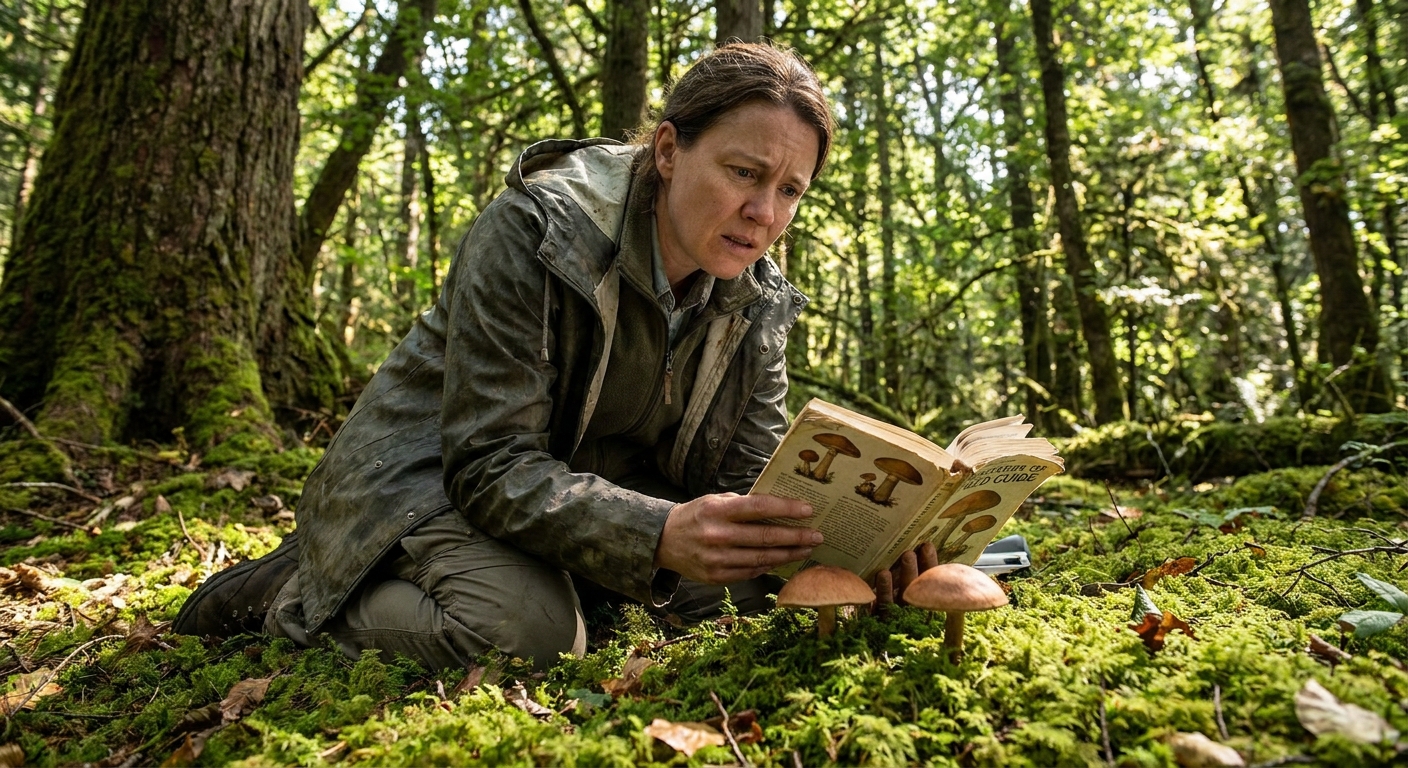
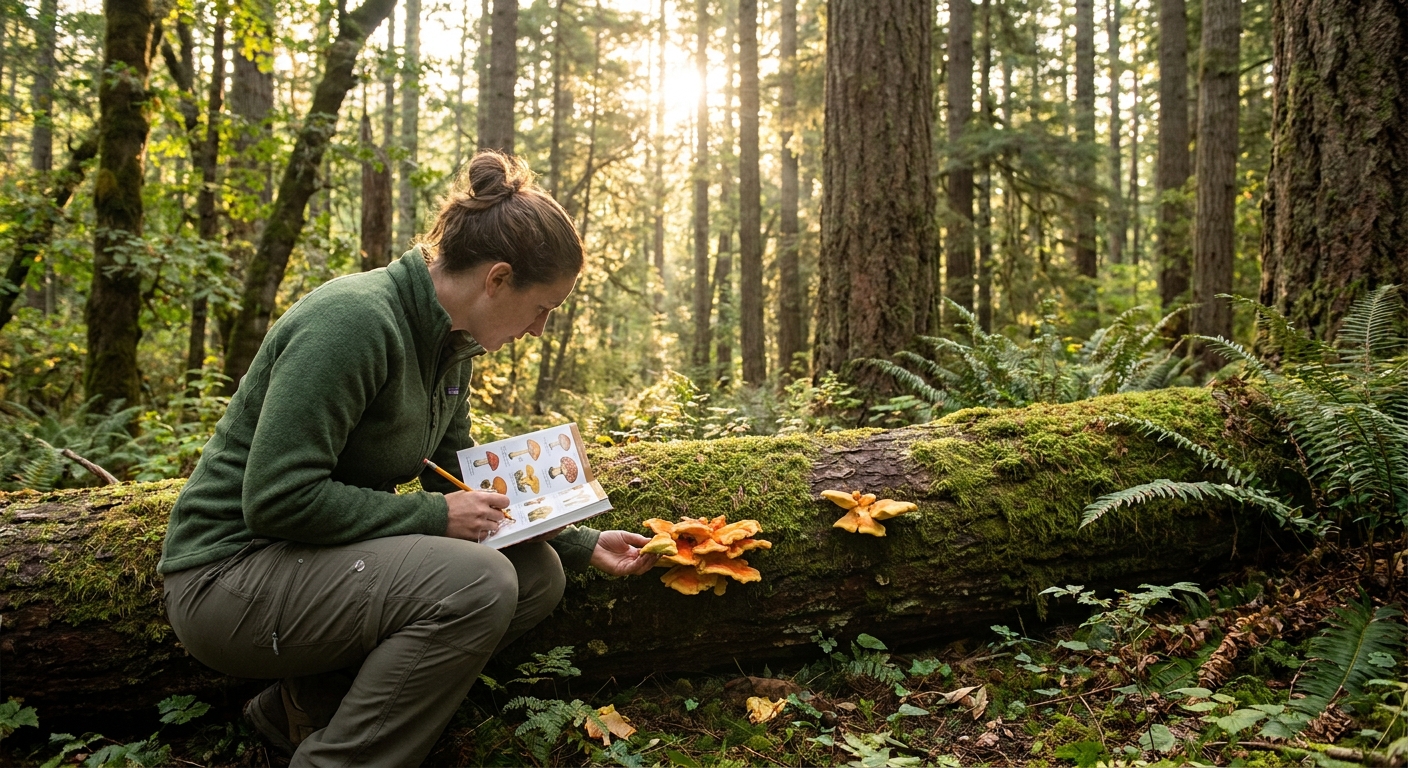
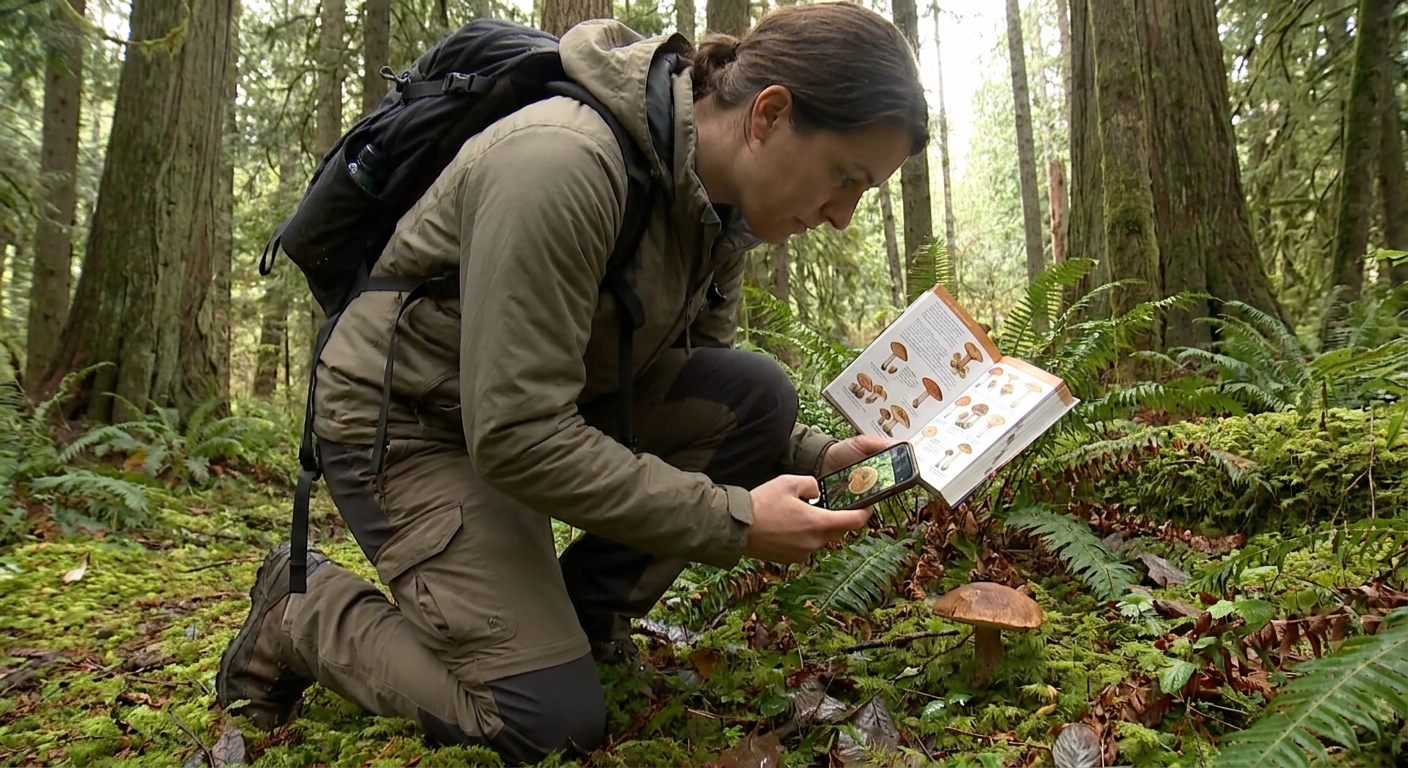
Step 7: Use References the Right Way
Instead of hunting for pictures that "look similar," use keys and structured guides.
Recommended Approach
- Start with a field guide that has keys (dichotomous or visual). Use characteristics like:
- Gills vs. pores vs. teeth
- Spore print color
- Growth on wood vs. soil
- Narrow to a genus first (Cantharellus, Boletus, Russula, etc.).
- Then work within that genus to find the most likely species.
Avoid These Traps
- Overreliance on a single phone app.
- Basing ID on cap color alone.
- Skipping spore prints for gilled mushrooms.
Use multiple sources: a regional guide, a general guide, and a reputable online database or local mycology group.
Step 8: Cross-Check with Known Look-Alikes
Once you have a candidate ID, actively try to prove yourself wrong.
Ask:
- "What are the dangerous look-alikes for this species?"
- "How do they differ in gill attachment, spore color, habitat, or season?"
- For chanterelles, research jack-o’-lanterns.
- For morels, study false morels.
- For meadow mushrooms, learn about destroying angels and death caps.
Examples:
This adversarial mindset is what separates a cautious forager from a careless one.
Step 9: Decide: Eat, Study, or Leave
After all this, make a conservative decision.
Eat (Rarely, with Confidence)
Only if:
- You have a confident species-level ID.
- Habitat, spore print, season, and features all align.
- You’ve cross-checked key look-alikes.
- The species is well-documented as edible for your region.
Cook thoroughly and start with a small portion.
Study (Often)
If ID is close but not quite firm:
- Keep specimens for further research.
- Share photos and notes with a local mycological club or expert forum.
- Learn from the uncertainty—this is where skill builds fastest.
Leave (Always Better Than Regret)
If there is any doubt about identity or edibility, thank the mushroom for teaching you and leave it. There will always be more mushrooms.
Step 10: Record and Review
Keep a simple foraging log with:
- Date and location (no need to share exact spots)
- Habitat and trees present
- Photos and spore print images
- Suspected ID and level of confidence
- Notes on smell, texture, bruise reactions
Over time, this becomes your personal field guide for your region. Reviewing logs from past seasons deepens your understanding of local fruiting patterns.
Optional: Building Skill Without Eating Anything
You can follow this entire workflow for a full season without tasting a single wild mushroom—and still become dramatically better at identification.
Try:
- Picking one genus to study deeply (e.g., Russula or Boletus).
- Practicing spore prints and microscopy with a local club.
- Comparing your IDs with expert determinations online.
This "study-first, eat-later" approach keeps you safe while your knowledge catches up with your curiosity.
Final Thoughts: Make Process Your Safety Net
A disciplined workflow is your best defense against dangerous mistakes. It slows you down, forces you to notice critical details, and gives you a repeatable path from curiosity to certainty.
Carry this process with you—alongside your knife and basket—and you’ll gradually transform from someone who "finds mushrooms" into someone who truly knows them.