Mushroom foraging demands a higher safety threshold than most plant foraging. Many toxic fungi share habitats and seasons with delicious edibles, and some deadly species resemble common table mushrooms.
Why Mushroom Gear Must Be Extra Cautious
Your gear, more than your memory, should help you:
- Capture all the features needed for ID
- Keep toxic and edible specimens separate
- Re‑check IDs at home, in good light, with multiple references
This guide walks through a mushroom‑specific kit, emphasizing safety at every step.
1. Multiple Mushroom Field Guides (Regional + Specialist)
Equip yourself with at least two independent sources:
- A regional mushroom guide with broad coverage
- A more technical or specialized guide, ideally including spore print charts and microscopic notes
A good mushroom guide clearly states:
- Seasonality of fruiting (spring morels vs. fall boletes)
- Habitat (on hardwood, conifer, soil, lawns, dung, etc.)
- Look‑alikes, with emphasis on dangerous species
- Clear warnings about species that are never to be eaten
Example – Amanitas vs. Edible Look‑Alikes:
- Amanitas often have:
- A universal veil: leaving a volva (sac) at the base and patches on cap
- Free gills
- A ring on the stem
- Some edible agarics share cap colors or partial veils but lack a volva.
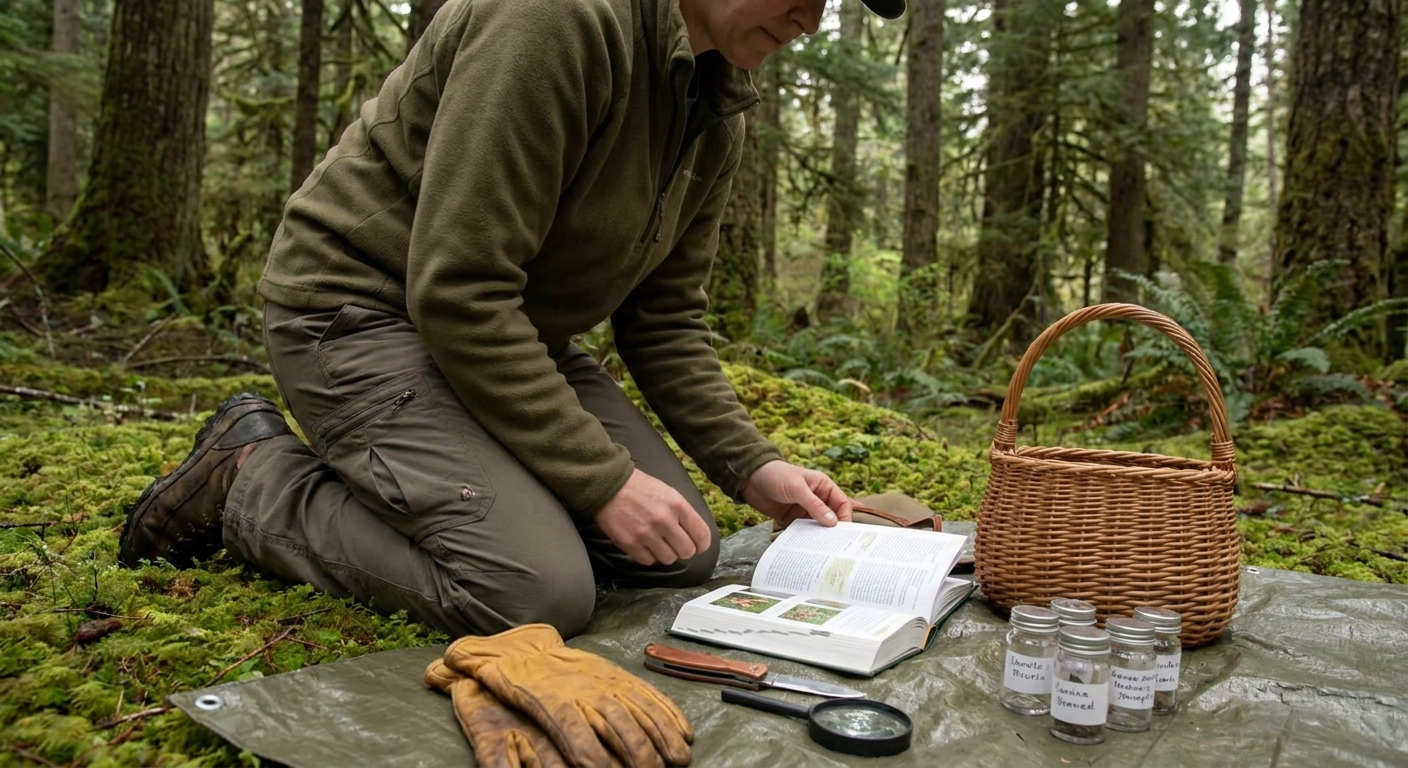
Your guides should reinforce one iron rule: Never harvest a gilled mushroom without carefully checking the base for a volva. That means your gear must allow you to see and transport the entire base intact.
2. Basket, Rigid Containers, and Paper Bags
Mushrooms are fragile and often sticky or crumbly. Your gear choice directly affects identification.
- Basket or rigid crate: Prevents crushing and allows airflow.
- Paper bags or waxed paper: Keeps different species separate.
Avoid plastic bags: they promote sweating and rapid decomposition, which can change colors and smells you rely on for ID.
Example – Boletes and Color Changes:
- Some edible boletes (e.g., Boletus edulis) have white flesh that doesn’t stain blue.
- Many inedible or toxic boletes bruise blue rapidly when cut or touched.
A crushed, overheated specimen in a plastic bag may show confusing bruising patterns that mislead an ID. A well‑ventilated basket preserves true colors for longer.
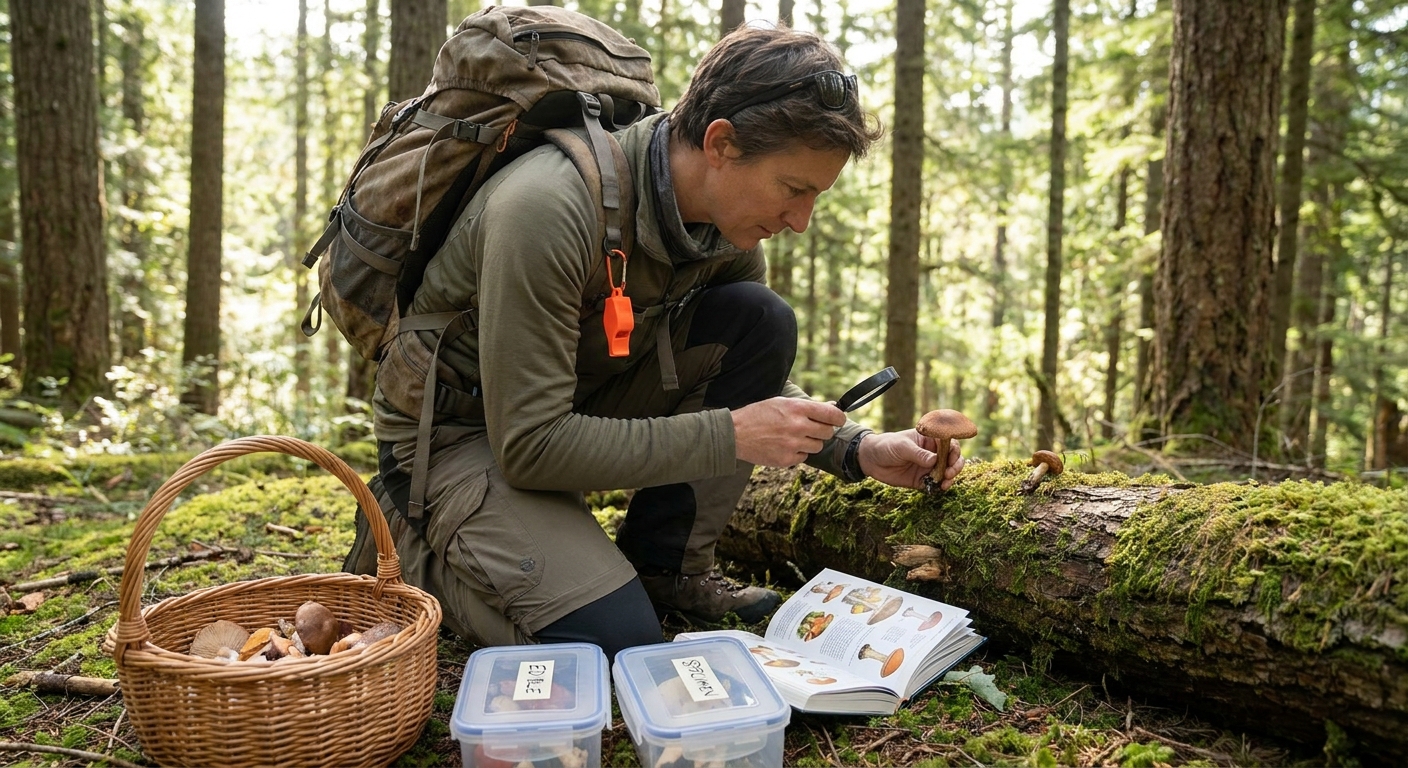
3. Field Knife and Small Brush
A mushroom knife (curved blade with a small brush) is helpful but not mandatory. Any sharp folding knife paired with a soft brush works.
Use the knife to:
- Cut mushrooms at the base or carefully extract them with their entire stem and base when needed for ID.
- Slice mushrooms in the field for preliminary checks (e.g., hollow vs. solid stem).
Use the brush to:
- Gently remove soil and debris without soaking the specimen.
Example – True Morels (Morchella spp.) vs. False Morels (Gyromitra spp.):
- True morels: Hollow from tip to base when sliced lengthwise.
- Many false morels: Chambered or cottony inside.
Your knife is your ID tool: slice every “morel” in half before it goes into your basket. Anything not completely hollow is not a morel.
4. Hand Lens (10x) and Small Ruler
Many mushrooms require close examination of:
- Gill edges (smooth, serrated, forked)
- Surface textures (scales, hairs, granules)
- Spore‑bearing surfaces in pores and teeth
A hand lens paired with a small ruler helps you compare:
- Pore size in boletes
- Gill spacing and thickness
Example – Chanterelles vs. False Chanterelles:
- True chanterelles (Cantharellus spp.): Blunt, forked ridges that run down the stem, thick and widely spaced; mycorrhizal under trees, often mid‑summer through fall.
- False chanterelles (Hygrophoropsis aurantiaca): Thinner, sharper gills; often on decaying wood or woody debris; can cause GI upset.
A lens and ruler help you see and measure those ridge vs. gill differences more clearly.
5. Spore Print Kit: Dark and Light Paper, Foil, Small Containers
Spore prints are crucial for distinguishing certain groups.
Pack:
- Squares of white and black paper
- A few pieces of aluminum foil
- Small containers or plastic boxes to protect prints from wind and insects
In the field, you can:
- Take a cap home and make a spore print overnight.
- Use the resulting color (white, cream, pink, brown, black, etc.) to narrow down ID.
Example – Agaricus vs. Chlorophyllum:
- Many Agaricus species (some edible, some not) have chocolate‑brown spores.
- The toxic Chlorophyllum molybdites (green gilled parasol) has greenish spore prints.
Your gear should make spore printing routine, not an afterthought.
6. Camera or Phone with a Photo Protocol
Establish a consistent photo routine so you capture all relevant ID features:
- Habitat photo: Show tree species, ground cover, moisture level.
- Group shot: Several specimens in situ, at different ages.
- Individual shot: Cap surface, underside (gills/pores/teeth), stem.
- Base shot: Dig slightly to expose the base, preserving volva or underground features.
This is vital for species like:
- Oyster mushrooms (Pleurotus spp.) vs. similar white shelves: Photo of the host tree and gill attachment is often decisive.
- Russulas and Lactarius: Need close‑ups of gills to see if a milky latex is exuding.
These images, combined with your basket and labeling system, let you re‑evaluate everything at home.
7. Notebook, Labels, and Permanent Marker
As you collect, note and label:
- Provisional ID (e.g., “Possible Cantharellus cibarius”)
- Tree association (e.g., oak, spruce, beech)
- Soil type and moisture
- Date and location
Each bag or section of your basket should have its own label. Avoid the common error of:
- Tossing all “brown caps” together, then trying to sort them later.
Your future self—and any experts you share specimens with—need precise notes.
8. Protective Clothing, Gloves, and Hygiene Gear
Mushrooms grow in tick habitat and among plants you may not want on your skin.
Gear up with:
- Long pants, long sleeves
- Boots with good grip for wet logs and slopes
- Light gloves for handling unknown species
Carry hand wipes or sanitizer so you don’t accidentally ingest spores or residue while eating snacks.
Important safety reminder:
- Never taste raw, unidentified mushrooms.
- Even for mushrooms considered edible, many are not safe raw (e.g., morels must be well cooked).
9. Navigation and Time Management Gear
A mushroom flush can pull you deeper into the woods than you planned.
Include:
- Map, compass, and/or GPS with offline maps
- Headlamp or small flashlight if evening storms or early sunsets are possible
- Watch or phone alarms to remind you when to turn back
Being rushed by failing light is a classic setup for sloppy ID work.
10. First Aid and Emergency Contact Info
Accidents happen even on short trips.
Your kit should have:
- Basic first aid (bandages, antiseptic, tweezers)
- An emergency contact card
- Knowledge of local poison control number
If anyone accidentally ingests an unknown mushroom, having samples clearly labeled with habitat notes gives medical professionals better information.
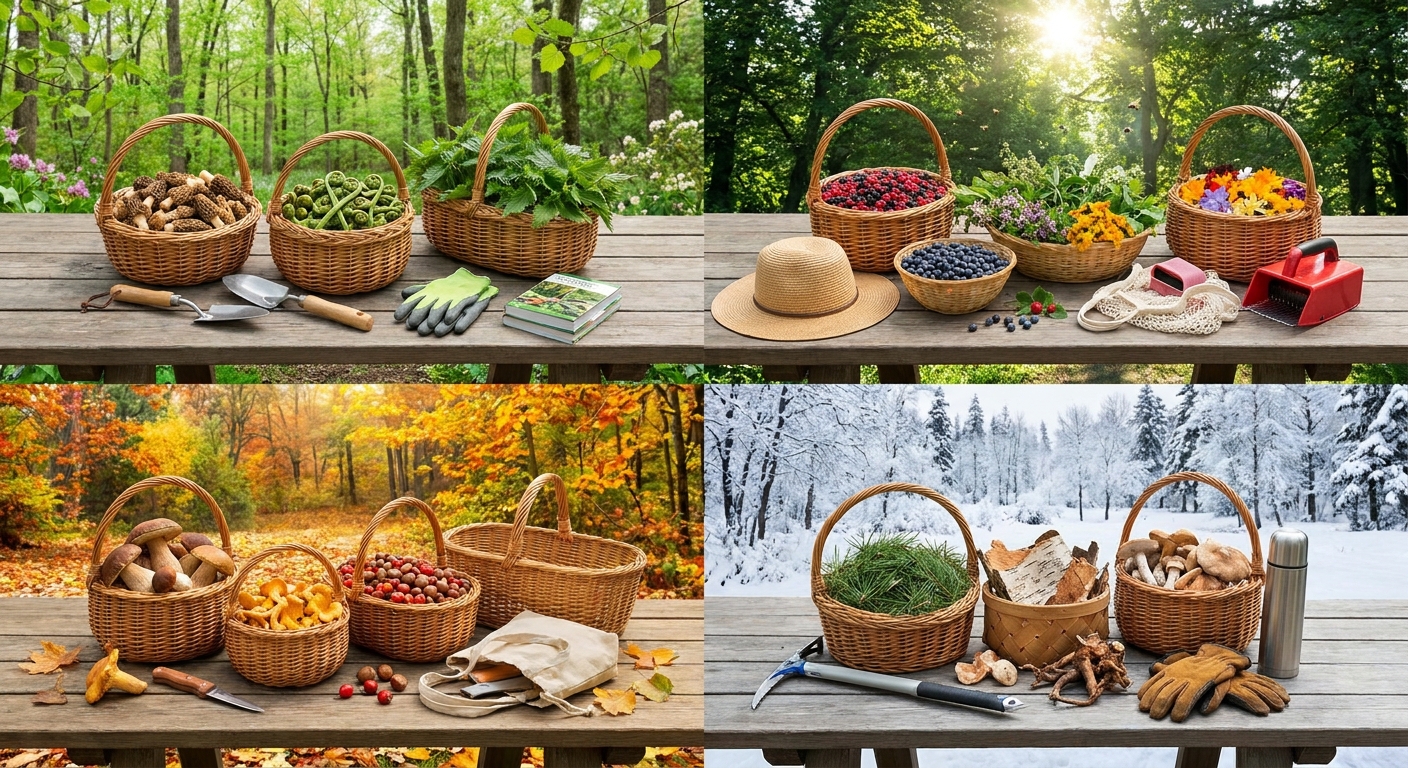
11. Seasonal Adjustments for Mushroom Foraging
Spring: Morels and Early Species
Add to your kit:
- Warmer layers (spring weather is fickle)
- Waterproof boots; morels like moist, recently disturbed ground and burn sites
Look‑alikes to be cautious of:
- False morels (Gyromitra, Verpa spp.) can appear in similar habitats at similar times. Your knife and camera (cut‑in‑half photos) are your main safety tools.
Summer: Boletes, Chanterelles, and Brittlegills
Pack:
- Extra water; you’ll walk more in heat
- Additional paper bags for multiple species
Be cautious with:
- Bright red‑pored boletes, many of which are toxic or cause GI upset.
- Russulas and Lactarius; some are edible, many are not, and ID often requires detailed gill and latex study.
Autumn: Late Season Oysters, Honey Mushrooms, and More
You’ll need:
- Warmer, layered clothing
- More robust baskets; autumn can be the most productive season
Watch for:
- Honey mushrooms vs. deadly Galerina: their habitats overlap on rotting wood.
- Late fruiters on conifers vs. hardwoods; some species are tolerated from one host type but cause issues from others.
A Safety‑First Workflow with Your Gear
- Observe mushrooms in situ: note habitat, tree species.
- Photograph from all angles.
- Extract responsibly using your knife, preserving the base.
- Store separately in paper bags within your basket.
- Record notes in your notebook.
- Re‑evaluate at home with multiple guides and, if possible, expert input.
When trying a new edible species you are absolutely confident about:
- Cook thoroughly. - Eat a small portion first. - Keep labeled uncooked specimens in the fridge in case of negative reactions.
Your gear is there to slow you down, keep you organized, and build a body of evidence for each identification. If something about a specimen or its documentation doesn’t sit right, your final piece of gear is non‑negotiable: your ability to say no and walk away.